This article is part of the Stata for Students series. If you are new to Stata we strongly recommend reading all the articles in the Stata Basics section.
The easiest way to manage Stata files is to put all the files related to a given project, including files you download from Learn@UW, in a single folder. If that's something you're comfortable doing, you may be able to skim or completely skip this article. But if you usually just save things in the default location of the program you're using, you may find a review of managing files helpful.
If you're using Winstat or one of the SSCC's Lab PCs, you should store your files on the U: drive, which is your personal disk space on the SSCC network. The U: drive is private (only you can access it), available from anywhere by logging into Winstat, and backed up five times a day. If you have installed Stata on your own computer, you can store your files on your local hard drive, but we recommend doing some sort of backups regularly. This article will describe storing files on U:, but if you're storing files on a local drive just replace U: with the name of your drive.
Windows Explorer
![]() The main program Windows uses to manage files is Windows Explorer (which is not the same as Internet Explorer). You'll use Windows Explorer to move files, create files, and start Stata by double-clicking on Stata files. Whenever you click on Documents or Computer or the folder icon on the task bar at the bottom of the screen, you're using Windows Explorer. Start Windows Explorer now.
The main program Windows uses to manage files is Windows Explorer (which is not the same as Internet Explorer). You'll use Windows Explorer to move files, create files, and start Stata by double-clicking on Stata files. Whenever you click on Documents or Computer or the folder icon on the task bar at the bottom of the screen, you're using Windows Explorer. Start Windows Explorer now.
Viewing File Extensions
Windows thinks you don't need to know about file name endings like .dta, .do, and .log, so it hides them from you by default. Dealing with Stata files will be much less confusing if you tell it you want to see these file name endings, or "extensions."
Press Alt. A new menu will appear near the top of the Windows Explorer window.
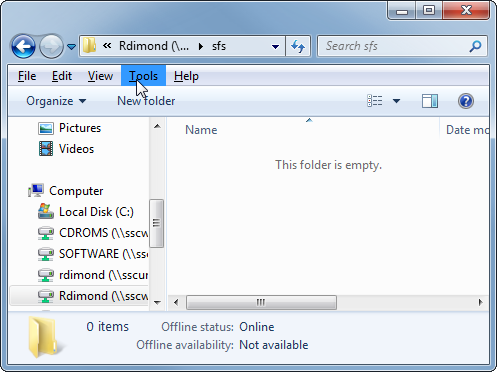
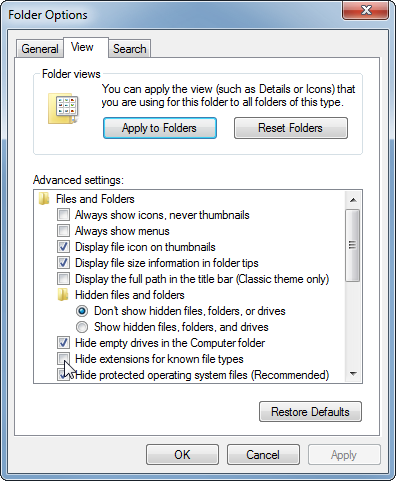
Click Tools, Folder Options, then the View tab. Uncheck the box that says Hide extensions for known file types and click OK. You will only need to do this once on each computer where you run Stata (including Winstat).
Creating a Folder on the U: Drive
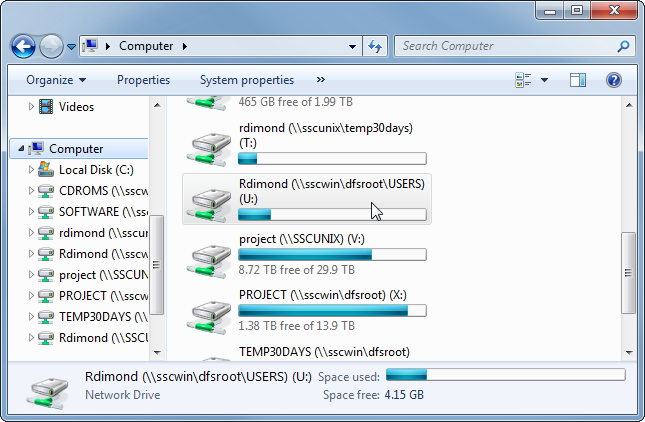
Next click on Computer on the left. This will give you a list of drives available to your computer, including network drives. If you're using Winstat or a Lab PC, double-click on the drive with your name on it, Username (\\sscwin\dfsroot\USERS) (U:). This is your U: drive, your space for storing files on the SSCC network.
Right-click on a blank space inside the U: drive and choose New, Folder. This is the folder where you'll put all the Stata files for your current project. If you're going to do the examples we've created, call the new folder SFS (Stata for Students). If you're going to go straight to your class work, name the folder after the class you're taking (Soc357, Econ310, etc.).
If you're going to run Stata on your own computer you can put the new folder wherever makes sense to you on your local hard drive.
Downloading Files
UW-Madison instructors frequently make files available through Learn@UW, including Stata data sets to be used in homework assignments. Stata can't read files from Learn@UW directly, so you'll need to download them and put them in the folder you've created.
Go to Learn@UW and log in. Find the class you're taking and then locate the files associated with the assignment. (If you have any difficulties finding them, speak with your instructor or TA.) Click on the file you want, and then click on the Download button.
If the data set you need is on a different web site, the web site may have a process you need to follow to obtain the data set, or you may be able to download it like any other file. Your instructor or TA will be able to tell you more if you're getting the file for a class assignment. Some data sets will come "zipped" or otherwise compressed. If you double-click on a compressed file Windows will generally show you what it contains, but you'll need to actually extract (or "unzip") the data set before Stata can use it. The details of how to do that will depend on what software your computer uses to handle compressed files.
If you plan to do our examples in Stata for Students, click here to download a subsample of the 2014 General Social Survey. (You can get the full data set from the GSS web site.)
Moving Downloaded Files to the U: Drive
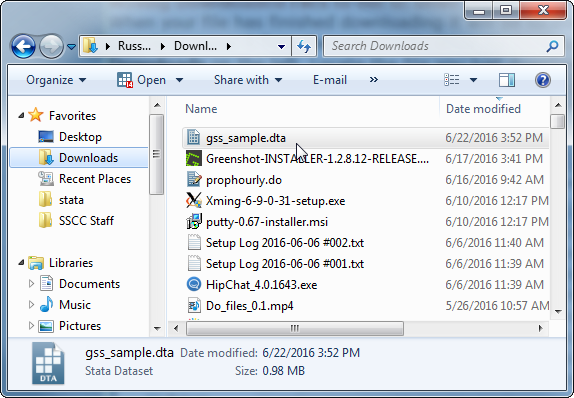
When your file has finished downloading it will be located in your Downloads folder. The next step is to move it from there to the U: drive. Go back to Windows Explorer, and click on Downloads on the left. Locate the file you just downloaded, right-click on it, and choose Cut.
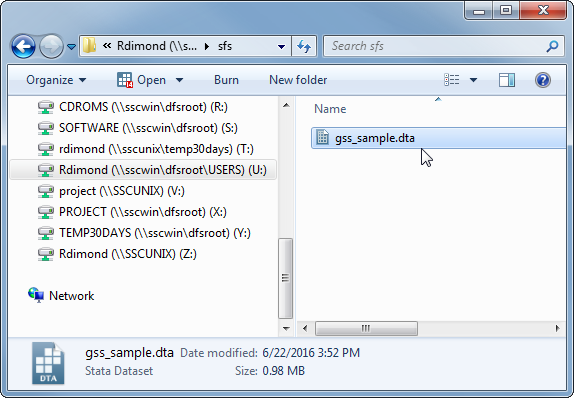
Click the back button (the arrow pointing left in the upper left corner of Windows Explorer), and you should be back in the folder you just created. If the back button doesn't take you straight there, click on Computer on the left, then the U: drive, and then folder you made. Right-click on a blank space on the right and select Paste. The data file should appear in that folder.
Working With Your Files
When you want to work with your files in the future, open Windows Explorer and go to Computer, U: drive, and then your folder. Double-click on a Stata data set or do file and it will open in Stata automatically. This will also make the folder they're located in Stata's working folder, so you can use files in that folder without having to tell Stata where to find them.
Next: Doing Your Work Using Do Files
Last Revised: 6/24/2016